Project Requirements
Bridge Requirements
- Must be a specific type of bridge
- The bridge must be at least 11” long
- The bridge deck must be 2” wide without any obstacles
- There must be a hole for the bolt for the testing structure to attach
- The bridge has to be able to have the testing block for the testing structure to be slide in
- The bridge must be able to sit on the testing structure and hold 5lbs without deflecting 1" (can't touch the bars while holding the bucket with 5lbs inside)
Materials:

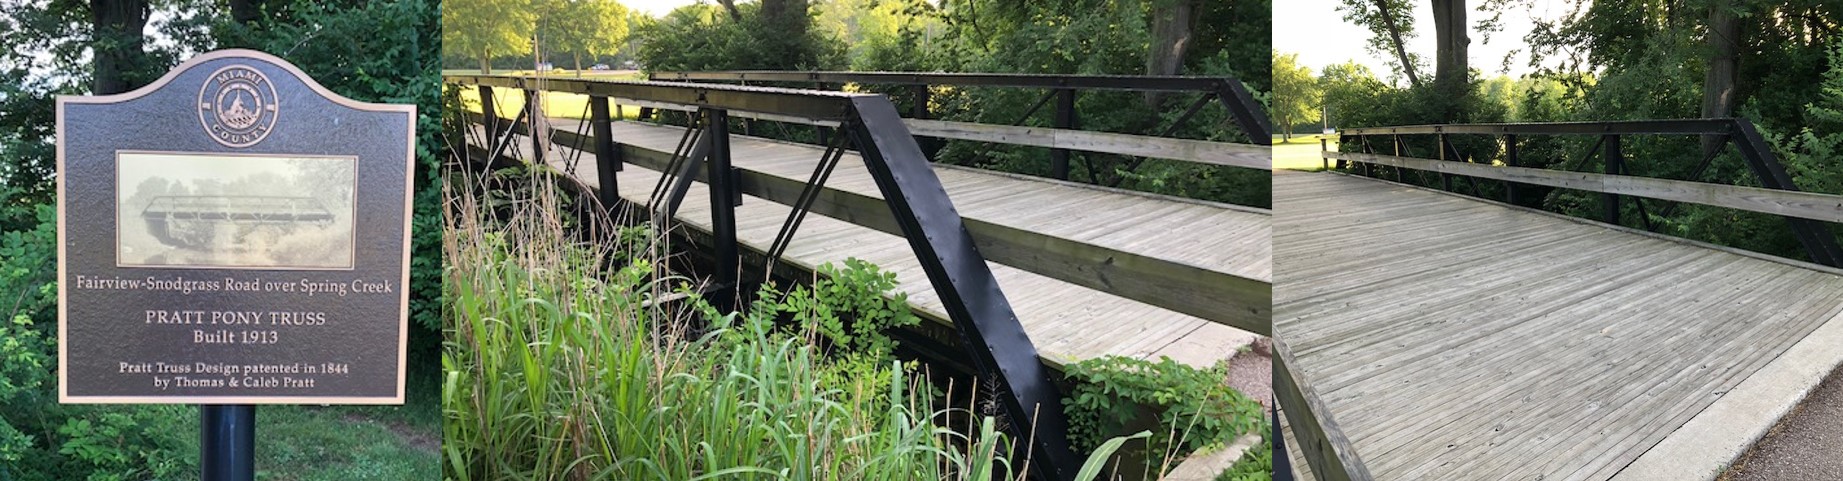
Bridge Inspiration Sites:
Ohio Historic Bridges
Bridge Hunter
Bridge Construction Helpful Videos
Attaching Sides to Bridge Deck
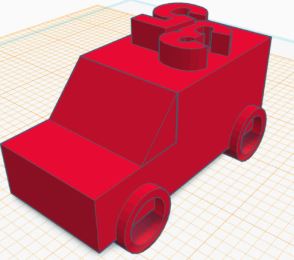
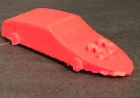
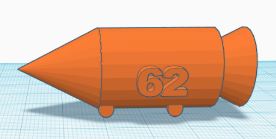
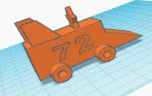
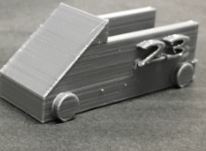
Vehicle Requirements
- 3-D designed and printed
- Be half your bridge width and height of your bridge
- Have the team number on the vehicle
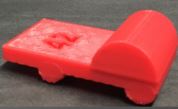
Hints for Better Vehicles:
~Tires are not spheres, they're cylinders
~Create your own design by putting together basic shapes, don't use pre-made designs (like tires)
~Not all the shapes on Tinkercad are meant to be printed, be careful.
~You need to design the ENTIRE vehicle, don't copy others ideas
~File named: Team#Vehicle (Example: Team43Vehicle)
Filament Color Options
Blue/Purple Combo
Red/Green/Blue Combo
Orange
Silver/Gold Combo
Getting vehicle picture from Tinkercad
Inserting screenshot into Google Slides Presentation
1. Set up your screen how you want the picture to look. You can always crop out extra things in the presentation later.
2. On your keyboard, press Shift + CTRL+ Show windows key (they key above 6)
3. Click and drag around what you want to take a screen shot of.
4. Click capture, it will copy to you clip board
5. Go to the presentation and paste the picture.
Presentation Requirements
- Each person is responsible for at least 2 slides in the presentation
- Each person will talk about their slides when the team presents
Project Manager follow the directions below:
1. Click on the link here: Presentation Template To Be Copied and Shared by Project Manager
2. On the presentation, File--> Make a Copy --> Entire Presentation
3. Name the copy: Team # Bridge Project (example: Team 87 Bridge Project)
4. Share the NEW Copy with all your team mates and me.
Historic and Notable Bridges in the U.S.: This site may help you in finding a real-world example of your type of bridge
Adding Pictures to Presentation
In the presentation:
1. Go where you need to put the picture.
2. Click Insert--->Image---> Drive
3. In the pop-up window they will appear under recent, or Arrow over to Shared with me
5. Locate the folder for your classes pictures
6. Select the picture and it will insert
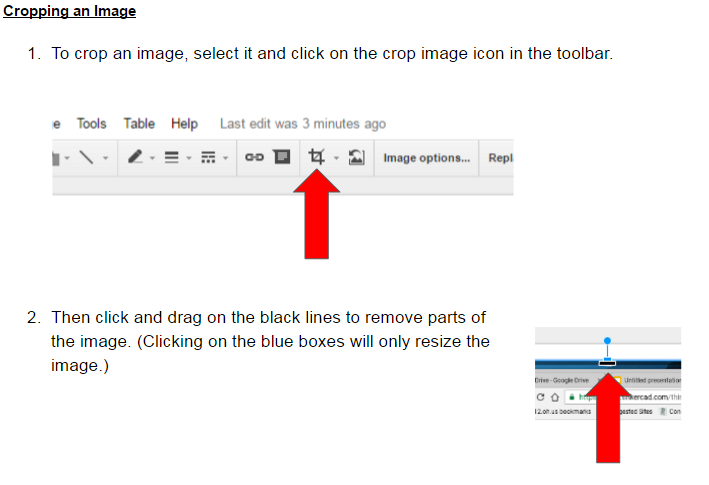
Cropping and Editing Images:
Here is a link to a site explaining how to crop and edit images in your slide presentation.
Make sure you are using the CORNER boxes to resize so you aren't distorting the image.